If you love the fresh, cooling flavor of mint in your teas, cocktails, and desserts, growing your own mint at home is one of the easiest gardening wins you can have. The secret isn’t just planting mint and hoping for the best—it’s using a few smart garden hacks that keep your mint healthy, lush, and practically maintenance‑free. With the tips below, you can turn a single mint plant into a dense, fragrant patch that produces leaves almost year‑round with minimal effort.
Why Mint Is the Perfect Herb for Lazy (But Smart) Gardeners
Mint is famously tough and forgiving. It grows quickly, tolerates some neglect, and can bounce back from a lot of beginner mistakes. As a perennial herb, mint dies back in cold climates but reliably returns each year from its roots. In warmer climates, it can stay green almost all year.
Key advantages of growing mint:
- It thrives in containers or small spaces.
- It tolerates some shade better than many other herbs.
- It responds vigorously to frequent harvesting.
- It’s resistant to many common garden pests and diseases.
With just a few tweaks to how and where you grow it, your mint can shift from “surviving” to “exploding with leaves.”
Hack #1: Grow Mint in Containers to Control Its Roots
One of the biggest myths that scares people away from mint is that it’s “invasive.” It’s true that the roots spread aggressively in open garden beds. The hack? Use containers to get all the growth without the chaos.
Why containers make mint easier
Mint spreads through underground runners. In a garden bed, those runners can pop up everywhere. In a pot, they’re confined, which:
- Prevents mint from taking over other plants
- Makes watering and feeding more precise
- Keeps harvesting easy and within arm’s reach
Best containers for mint
Choose containers that are:
- At least 10–12 inches wide and deep – mint roots like room.
- Well-draining – with multiple drainage holes.
- Made of plastic, fabric, or glazed ceramic – these retain moisture better than unglazed terracotta.
You can also sink a pot into a garden bed: cut off the bottom of a large nursery pot, bury it with the rim just above soil level, then plant mint inside. The sunken pot acts as a root barrier while still letting roots reach deeper soil.
Hack #2: Use the Right Soil Mix for Fast, Dense Growth
Mint isn’t very picky, but it does its best in rich, slightly moist, well-draining soil. The trick is to hit the balance between moisture retention and drainage—too soggy and the roots rot; too dry and the plant stalls.
Ideal soil recipe for mint in pots
Use this simple mix:
- 60% quality all‑purpose potting mix
- 20% compost (homemade or store‑bought)
- 20% perlite or coarse sand for drainage
This mix gives mint enough nutrients to pump out fresh growth while preventing water from pooling around the roots.
If you’re planting in the ground, loosen the top 8–10 inches of soil and mix in 2–3 inches of compost. Avoid compacted or waterlogged spots.
Hack #3: Place Mint in the “Goldilocks” Light Zone
Mint will grow in a range of light conditions, but you get the lushest leaves with the least effort when the light is “just right.”
Light requirements for lush mint
- Ideal: 4–6 hours of morning sun with afternoon shade
- Tolerated: Partial shade (especially in hot climates)
- Risky: Full, intense afternoon sun in hot regions (can scorch leaves and dry out pots)
If you’re in a hot climate, placing mint on the east side of your home or under a lightly filtered shade (such as a tree or balcony) helps prevent stress. In cooler climates, a spot with more sun (up to 6–8 hours) will encourage faster growth.
Indoor mint should be placed in a bright window (south or east facing) or under a grow light for 10–12 hours daily.
Hack #4: Water Smart, Not Constantly
Mint loves consistent moisture, but that doesn’t mean keeping it soggy. Overwatering is one of the few ways to really harm this tough herb.
Simple watering rule for mint
Use the finger test:
- Stick your finger about 1 inch into the soil.
- If it feels dry at that depth, water thoroughly until water drains from the bottom.
- If it’s still slightly moist, wait a day or two.
In hot weather, you may water potted mint every 1–2 days; in cooler or shady locations, every 3–4 days might be enough. Fabric or clay pots dry out faster than plastic or glazed ceramic, so adjust accordingly.
Mulching around mint in garden beds (with shredded leaves, straw, or fine bark) can reduce how often you need to water while keeping roots cool.
Hack #5: Feed Sparingly for Flavorful, Not Flimsy, Leaves
Mint doesn’t need heavy feeding to grow well. In fact, too much fertilizer can create tall, weak growth with diluted flavor.
Low‑effort fertilizing approach
- When planting, mix compost into the soil or potting mix.
- For containers, apply a balanced, slow‑release organic fertilizer once in spring.
- Or, use a diluted liquid fertilizer (like fish emulsion or seaweed) once a month during peak growing season.
If your mint looks pale or sluggish mid‑season, top‑dress the pot or bed with a thin layer of compost and water it in. That’s usually enough to perk it up.
Hack #6: Prune Hard and Harvest Often (This Is the Real Secret)
The biggest mint hack for producing tons of lush leaves is counterintuitive: cut it back often and don’t be gentle. Mint responds to pruning by branching and thickening.
How to harvest mint for maximum growth
- Start harvesting once stems are 4–6 inches tall.
- Use clean scissors or pinch with fingers just above a pair of leaves.
- Always leave at least one-third of the plant so it can rebound.
Every 4–6 weeks in the growing season, give your plant a “haircut”:
- Cut the top third to half of the stems.
- Remove any thin, scraggly or woody stems at the base.
- Save and dry or freeze extra leaves.
This stimulates new side shoots and keeps your mint in a constant cycle of tender, young growth instead of tall, woody stems.
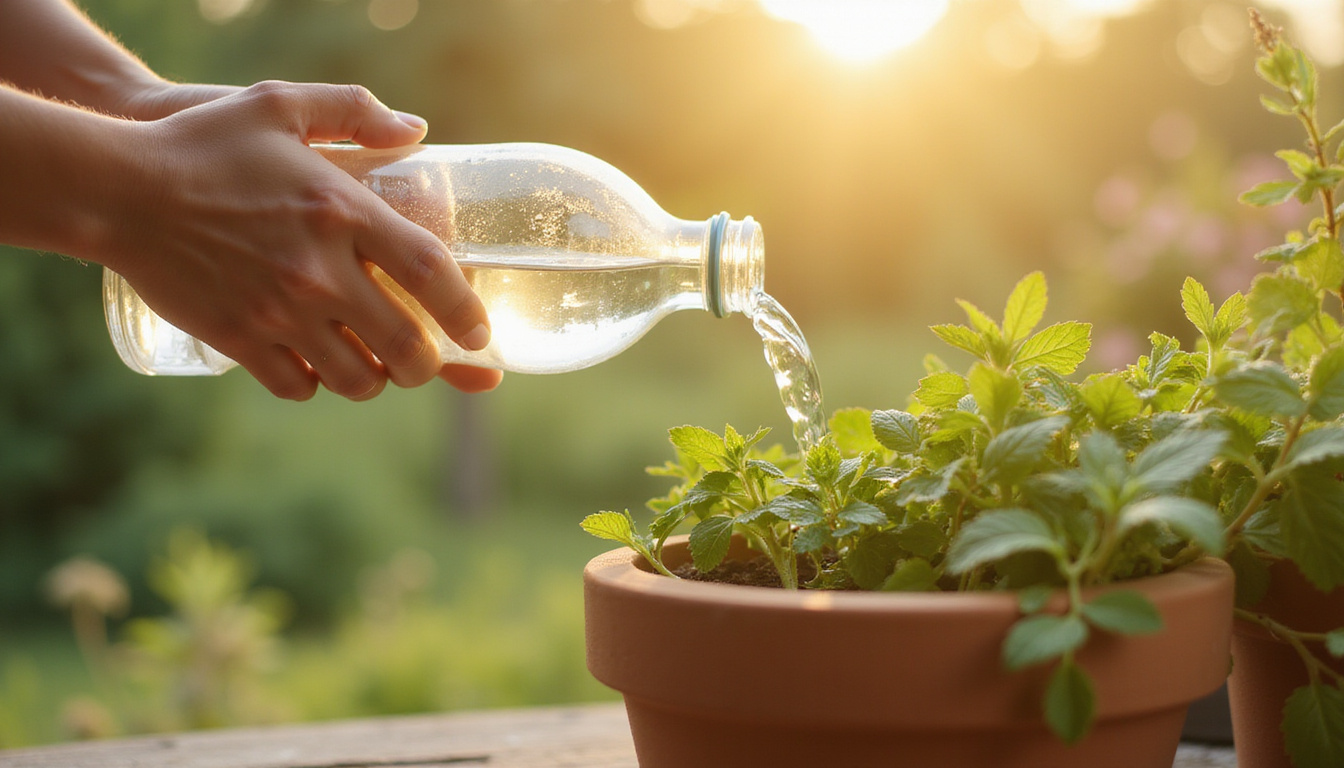
If flower buds appear, pinch them off. Flowering shifts the plant’s energy away from leaf production and can make the leaves slightly less flavorful.
Hack #7: Try Bottom-Watering for Fuss-Free, Strong Roots
Bottom-watering (adding water to a tray under the pot) encourages mint roots to reach down, creating a sturdier plant and reducing fungus on the soil surface.
Simple bottom-watering method
- Place your mint pot in a tray or shallow basin.
- Fill the tray with water to about 1 inch deep.
- Let the pot absorb water for 20–30 minutes.
- Dump any remaining water.
Use this method once a week or so, alternating with standard top watering as needed. It’s especially useful for indoor mint, where airflow is lower and the topsoil can stay too wet.
Hack #8: Propagate Mint for Free Plants in Minutes
Mint is one of the easiest herbs to propagate. A single plant can give you many more with almost no effort.
Two ultra‑simple ways to propagate mint
-
Water cuttings
- Cut a 4–6 inch stem just below a node (the little bump where leaves attach).
- Strip the lower leaves.
- Place the stem in a glass of water, ensuring nodes are submerged.
- Change water every few days.
- Roots usually appear within a week; plant into moist potting soil once roots are 1–2 inches long.
-
Division
- Gently remove the plant from its pot or dig up a clump in the garden.
- Split the root ball into sections using your hands or a clean knife.
- Replant each section in its own pot or spot, water well.
This lets you quickly fill window boxes, balcony rails, or multiple garden corners with mint without buying more plants.
Hack #9: Group Mint with the Right Companions
If you’re growing mint in beds (controlled by barriers or sunken pots), pairing it with certain plants can help with pest control and odors.
Good companion uses for mint
- Near cabbage family crops (like broccoli or kale) to help confuse cabbage moths with its strong scent.
- Close to doorways or patios to add fragrance and deter some insects.
- In pots near tomatoes or peppers (but not sharing soil), where you can snip leaves to flavor harvests.
Be cautious about planting mint directly in the same soil space with delicate herbs like basil or thyme; mint can outcompete them unless contained.
Hack #10: Simple Seasonal Care for Perennial Mint
Mint is perennial in many regions, meaning it comes back every year with minimal input. A few seasonal habits keep it in peak condition.
Seasonal tips
- Spring: Cut back any dead or weak stems, top-dress with compost, refresh potting soil if plants are rootbound.
- Summer: Water consistently, prune regularly, pinch off flowers.
- Fall: Give a final harvest and light trim; in colder climates, mulch the ground around outdoor plants.
- Winter: In freezing climates, pots can be moved to a sheltered spot or indoors; in mild climates, mint may stay semi-evergreen—harvest lightly.
Mint is hardy in roughly USDA zones 3–11 depending on variety and winter protection (source: University of Minnesota Extension).
Simple Uses That Encourage You to Harvest More
The more you use your mint, the more it grows. Keeping a few easy uses in mind makes it natural to pick a handful every time you pass the plant.
Ideas that use lots of leaves:
- Iced mint tea or hot herbal infusions
- Mojitos, mint juleps, and other cocktails
- Mint‑infused water or lemonade
- Chopped mint in salads, tabbouleh, or yogurt sauces
- Mint pesto for lamb, vegetables, or pasta
- Frozen mint cubes (chopped mint in an ice cube tray with water)
Regular harvesting is one of the simplest “hacks” that keeps your mint young, bushy, and ultra-productive.
Quick Mint Care Checklist
Use this summary to keep your mint on autopilot:
- Plant in containers or sunken pots to control spreading.
- Use rich, well‑draining soil with added compost.
- Give 4–6 hours of sun with some afternoon shade in hot regions.
- Water when the top inch of soil is dry; avoid soggy roots.
- Feed lightly once in spring and optionally monthly with diluted fertilizer.
- Harvest and prune frequently; remove flowers.
- Propagate from cuttings or division to expand your mint stash.
- Refresh or divide rootbound plants every 1–2 years.
FAQ About Growing Mint
1. How do I keep potted mint plant leaves lush and green?
Keep your potted mint in bright but not scorching sun, water when the top inch of soil dries out, and trim it often. Use a rich potting mix with compost and avoid heavy fertilization, which can cause weak, pale growth.
2. Can I grow mint indoors successfully?
Yes, you can grow mint indoors in a bright window or under a grow light. Use a wide pot with drainage, keep the soil evenly moist (not soggy), and rotate the pot regularly so the plant grows evenly toward the light. Indoor mint often appreciates a bit more pruning to stay compact.
3. Why is my mint not growing well in the garden?
Slow or weak mint growth outdoors usually traces back to poor drainage, deep shade, or competing roots. Move mint to a spot with at least a few hours of sun, improve the soil with compost, or grow it in its own container to remove root competition.
A thriving mint patch doesn’t require constant attention—just a few smart choices that work with the plant’s natural vigor. By containing the roots, dialing in light and water, and pruning regularly, you can turn a single small plant into a lush, fragrant source of fresh leaves for teas, drinks, and recipes almost all year long.
Start with one pot of mint this week, apply these hacks, and you’ll be harvesting your own abundant, homegrown leaves in no time. Your future drinks, dishes, and desserts will thank you every time you step outside and snip a handful of fresh mint.
Throughout history, many plants and herbs have been associated with luck, protection, and prosperity. To explore their deeper spiritual, psychological, and scientific significance, visit SpiritualMindScience.com.