A Brigid cross is more than just a woven decoration—it’s a powerful folk symbol of protection, renewal, and blessing. Traditionally hung over doorways in Irish homes, it’s associated with St. Brigid and with Imbolc, the old Celtic festival of spring. Whether you’re drawn by Irish heritage, spiritual symbolism, or simple curiosity, learning how to make a Brigid cross is a meaningful and grounding craft you can return to every year.
What Is a Brigid Cross?
A Brigid cross is a small, usually square-shaped woven cross traditionally made from rushes or straw. It’s linked to St. Brigid of Kildare, one of Ireland’s most beloved saints, whose feast day is February 1st. That date also aligns with Imbolc, a pre-Christian Celtic festival marking the first stirrings of spring.
Common features of a Brigid cross:
- A central woven square or diamond
- Four arms extending out from the center
- Constructed from rushes, straw, reeds, or similar plant material
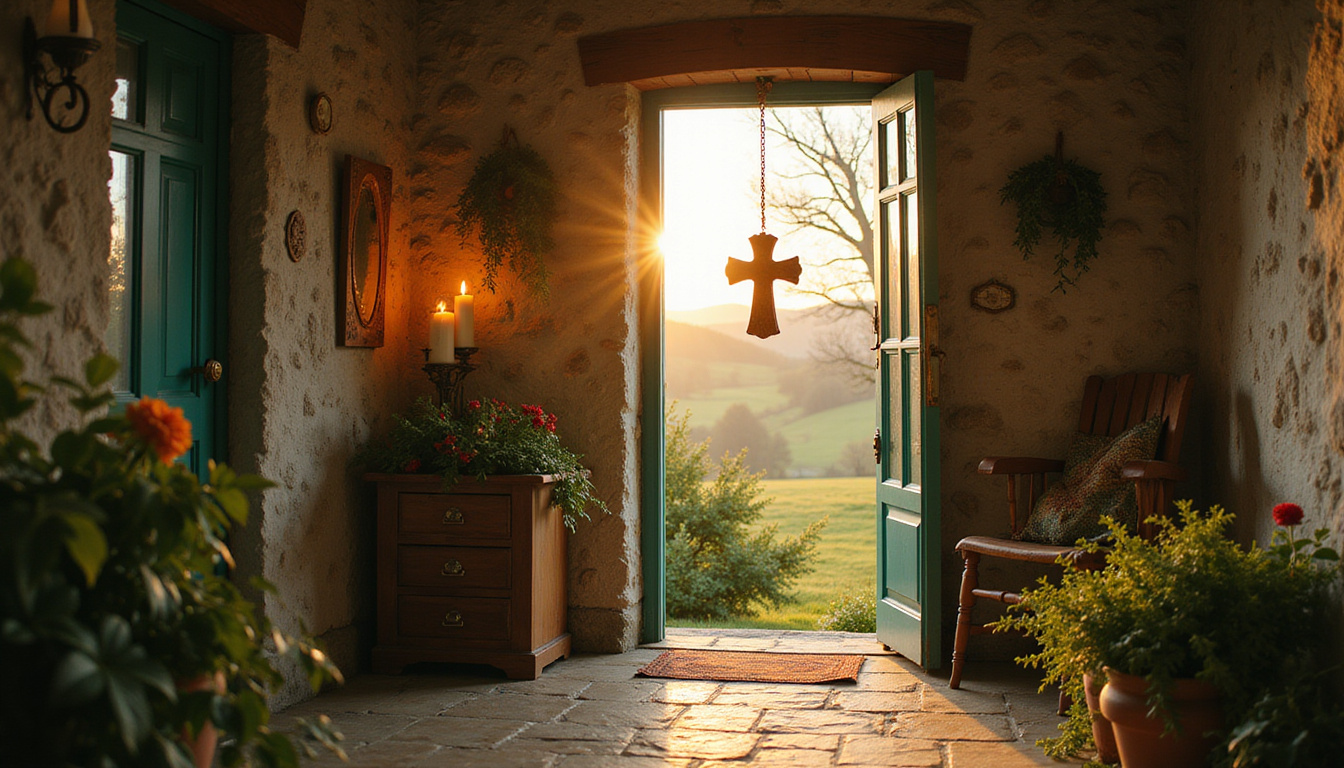
- Typically hung above doors or in kitchens for protection and blessing
The Brigid cross symbolizes:
- Protection: Hung in homes, barns, and stables to guard against misfortune.
- New beginnings: Created at the start of spring to welcome the new agricultural year.
- Healing and nurturing: Brigid is associated with care, hospitality, and hearth.
You’ll see various regional styles (three-armed, four-armed, or more decorative versions), but the four-armed woven cross is the most widely recognized.
Materials You’ll Need to Make a Brigid Cross
Traditionally, people made a Brigid cross from rushes cut from marshy ground on the eve of St. Brigid’s Day. Today, you can adapt with what you have available.
Traditional materials:
- Fresh rushes
- Straw (oat, wheat, or barley)
- Reeds
Modern alternatives:
- Long pipe cleaners
- Raffia
- Craft straws or drinking straws
- Soft, bendable floral wire covered with string
- Long blades of ornamental grass (dried)
Basic supply list:
- 20–30 strands of your chosen material (more if they’re very thin)
- Scissors
- String, thread, raffia, or small rubber bands
- A bowl of warm water (if using very dry natural material)
- A flat work surface
Aim for strands that are roughly the same length and thickness. For beginners, about 10–12 inches (25–30 cm) long is a good size—easy to handle but not too fiddly.
How to Make a Brigid Cross Step by Step
The traditional method of making a Brigid cross involves folding each strand around a central one to build up the woven square. It can feel confusing at first, but once you understand the rhythm—add a strand, fold, turn—you’ll get into a soothing flow.
Step 1: Prepare Your Strands
- Trim to size: Cut all strands to a similar length.
- Soften if needed: If using dry rushes or straw, soak them in warm water for 10–20 minutes so they’re flexible and less likely to snap.
- Pat dry: Gently pat them dry with a cloth so they’re not dripping wet.
Lay your strands out in front of you, all pointing in the same direction.
Step 2: Make the Central Strand
- Take one strand and hold it horizontally in your left hand.
- This is your core strand, forming the first arm of your Brigid cross.
Everything else will be folded around this first piece.
Step 3: Begin the Weave
- Take a second strand and fold it in the middle, creating an L-shape.
- Place the folded middle over the center of the first strand, at a right angle.
- The folded end should form a neat corner over the core strand.
- Hold the intersection tightly with your fingers—this is the start of the woven square.
At this stage, you’ll see a simple cross or “T” shape forming.
Step 4: Establish the Rhythm (Fold and Turn)
You’ll now repeat a simple pattern with each new strand:
- Rotate the cross 90 degrees clockwise so that the most recently added strand points vertically.
- Take a new strand, fold it in the middle.
- Place the folded middle over the center of the current vertical strand, again forming an L-shape.
- Pull the loose ends of the new strand tightly around the existing structure so they align with the opposite arm.
Each new piece wraps around the central square, building it out one layer at a time.
Step 5: Continue Building the Square
Repeat the “rotate, fold, place, pull” pattern:
- Rotate the growing cross 90 degrees clockwise.
- Add a folded strand over the vertical arm.
- Pull ends snug so the center remains tight and square.
As you continue, you’ll see:
- The central square growing larger with each set of four strands.
- Four arms extending out from the corners.
Keep tension consistent—not so tight that pieces snap, but firm enough to hold shape.
Step 6: Decide the Size of Your Brigid Cross
You can stop when:
- The center square is the size you want (typically 1.5–3 inches/4–7 cm across for a small cross).
- The arms look even and balanced.
For a medium-sized Brigid cross, you’ll usually use 16–24 strands, depending on thickness.
Step 7: Secure the Ends
Once you’re happy with the size:
- Hold the center firmly so it doesn’t unravel.
- Gather each arm’s loose ends together.
- Tie them about 1–2 inches (2–5 cm) from the center with string, thread, or a small rubber band.
- Repeat for all four arms.
This stops the woven square from loosening and gives the cross a neat, finished look.
Step 8: Trim and Neaten
Use scissors to:
- Trim the ends of each arm so they’re roughly equal.
- Remove any frayed or damaged bits.
You now have a completed Brigid cross, ready for blessing and display.
Simple Brigid Cross Tutorial (Quick Recap)
Use this as a reference while you work:
- Gather 20–30 equal-length rushes or similar material.
- Hold one strand horizontally as your core.
- Fold a second strand in half and place the fold over the center of the core at a right angle.
- Rotate the structure 90° clockwise.
- Fold a third strand and place it over the new vertical arm’s center.
- Rotate and repeat: add a folded strand over the vertical arm each time.
- Keep going until the center square is the desired size.
- Tie each arm near the center to secure.
- Trim ends evenly.
Once you’ve made one Brigid cross, you’ll find subsequent ones become much faster and more intuitive.
How to Bless Your Brigid Cross and Your Home
The Brigid cross is traditionally made on St. Brigid’s Eve (January 31) or St. Brigid’s Day (February 1) and then blessed and placed in the home. You can adapt these customs to your own spiritual background—Christian, pagan, or secular.
Traditional Christian Blessing
A simple Christian-style blessing might go like this:
-
Place your newly made Brigid cross on a table.
-
Light a candle (safely away from flammable items).
-
Say a prayer such as:
“God of all goodness,
through the intercession of St. Brigid,
bless this cross and this home.
May it be a sign of protection, peace, and hospitality.
Guard all who live and visit here. Amen.” -
Sprinkle a little holy water on the cross if that’s part of your tradition.
-
Hang the Brigid cross above the front door, in the kitchen, or in another central place.
Folk or Nature-Based Blessing
If you lean toward a more nature-based or folk practice:
-
Hold the Brigid cross in both hands.
-
Take a moment to reflect on your intentions: protection, healing, creativity, or fresh starts.
-
Say something like:
“Brigid of the hearth and flame,
bless this cross and this home.
May warmth, protection, and renewal
dwell within these walls.
From this day into the turning year,
let peace, health, and hope remain.” -
Pass the Brigid cross briefly over the smoke of incense or herbs (like rosemary or lavender) if you wish.
-
Hang it where it can watch over your household.
Where to Hang Your Brigid Cross
Traditionally, a Brigid cross is placed:
- Above the main entrance to protect all who come and go.
- In the kitchen, as Brigid is linked to the hearth and hospitality.
- In the barn or stable, to watch over animals and food stores.
Choose a location that feels central or symbolic to your home life:
- Over your front door
- Near your family dining table
- Above a fireplace or hearth
- In a child’s room or bedroom for protection
Some families replace the Brigid cross each year on St. Brigid’s Day, burning the old one or returning it respectfully to nature.
Keeping the Tradition Alive in Modern Homes
The Brigid cross bridges (no pun intended) ancient Celtic custom and Christian devotion, making it a living symbol of Irish culture and spirituality. In recent years, there’s been a renewed interest in these traditional crafts, both in Ireland and around the world.
A few ways to integrate the Brigid cross tradition today:
- Family ritual: Make one together each year and share stories of Brigid or family blessings.
- Cultural education: Use it to teach children about Irish heritage, seasons, and folk customs.
- Seasonal altar: Place the Brigid cross on a spring altar with snowdrops, candles, and seeds to be planted.
- Craft workshops: Host a small gathering around St. Brigid’s Day to weave crosses and share food.
For historical context and images of traditional examples, the National Museum of Ireland provides valuable information about St. Brigid and associated folk objects (source: National Museum of Ireland).
FAQ About Brigid Cross Traditions
What is the meaning of a Brigid cross?
A Brigid cross is traditionally a protective symbol associated with St. Brigid and the arrival of spring. Hung in homes, it’s believed to guard against harm, bring blessings to the household, and mark a fresh start to the agricultural and spiritual year. Many people also see the cross of Brigid as a sign of hospitality, healing, and creativity, reflecting the saint’s legends.
When should I make and hang a St. Brigid cross?
The most traditional time to make and hang a St. Brigid cross is January 31st (St. Brigid’s Eve) or February 1st (St. Brigid’s Day/Imbolc). However, you can create and bless a Brigid cross at any time you’re seeking renewal, protection, or a new beginning—such as moving house, starting a family, or after a difficult period.
Can I use any materials to make a Brigid’s cross?
Yes. While rushes and straw are traditional, you can make a Brigid’s cross from pipe cleaners, craft straws, raffia, or even soft wire. The important part is the intention and the pattern of weaving, not just the exact material. Using natural materials can add to the seasonal feel, but a carefully made cross of any medium can serve as a meaningful symbol in your home.
Creating a Brigid cross is a simple, calming craft that connects you with centuries of tradition and a deep sense of seasonal renewal. As you weave each strand, you’re not just making a decoration—you’re shaping a symbol of protection, hope, and welcome for your home.
If this tradition resonates with you, gather your materials, invite a friend or family member to join you, and make your first Brigid cross this season. Hang it proudly, speak your blessing over it, and let it remind you each day that your home is a place of warmth, safety, and new beginnings.
Explore the Science Behind Spirituality
This guide explored the meaning and history of good luck symbols. To discover the psychology, consciousness, and scientific perspectives behind spiritual beliefs, visit SpiritualMindScience.com.